
Mouldy Bathtub Caulk or a Hidden Leak? What Wasaga Beach Homeowners Should Check
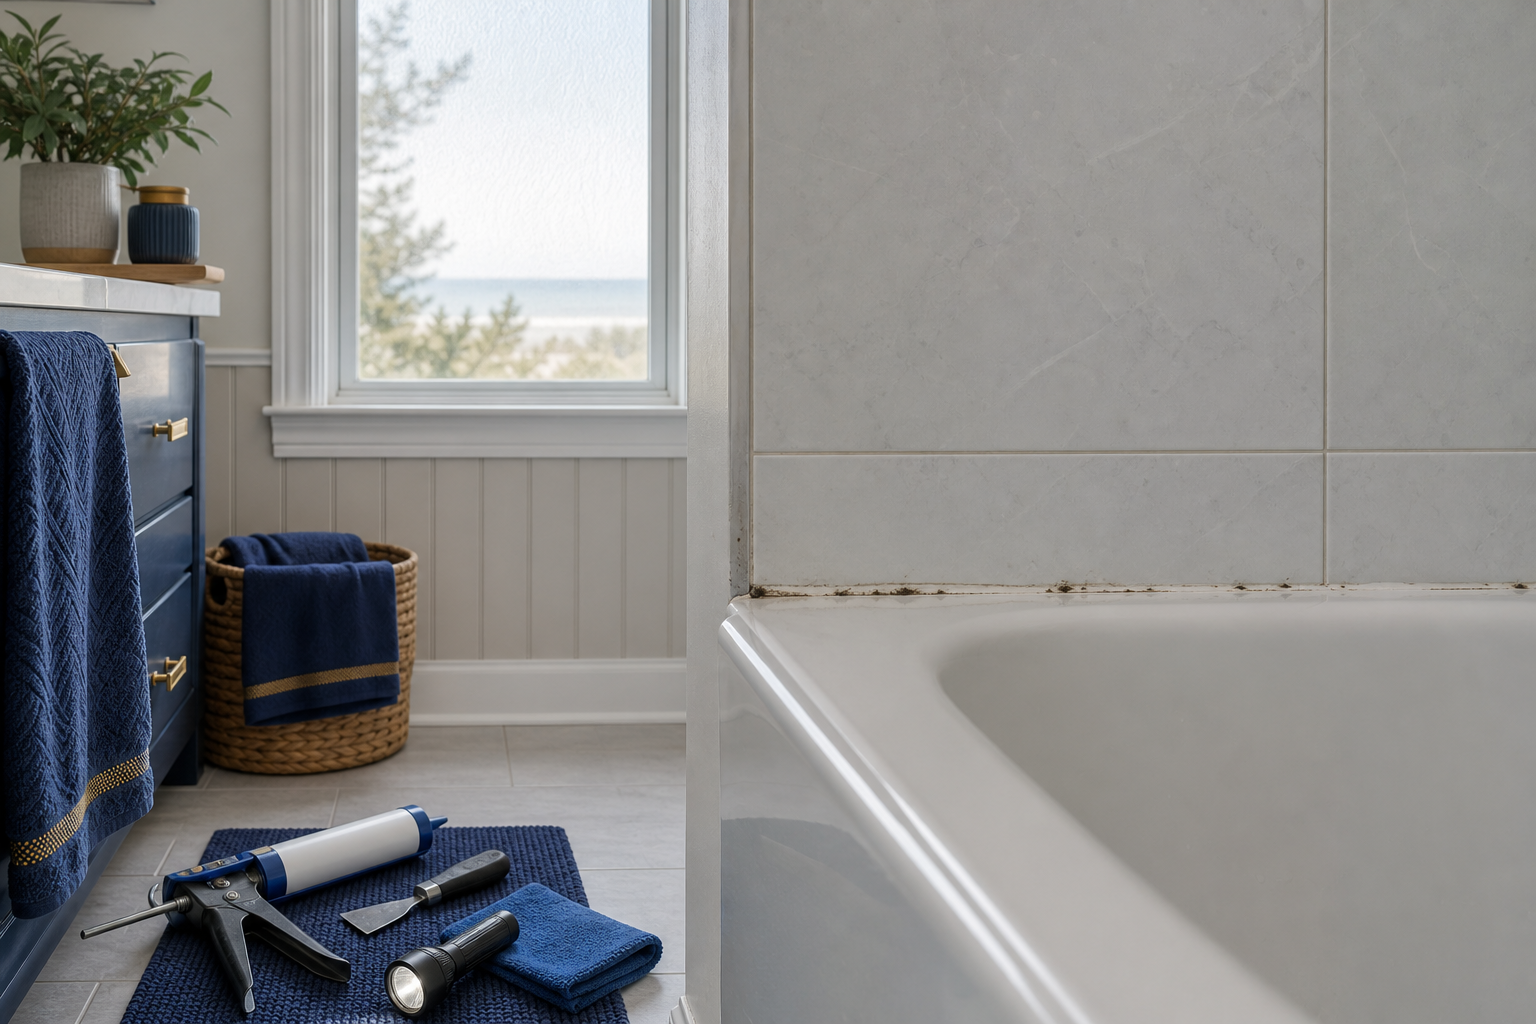
Black or peeling caulk around a bathtub is easy to dismiss as a cosmetic problem. Sometimes it is simply an old seal that needs to be removed and replaced. Other times, it is a visible warning that moisture is getting behind the tub, shower wall, trim, or floor.
The safest approach is to identify which problem you have before covering the area with new caulk. This guide explains what to look for, what can be handled as routine maintenance, and when a bathroom repair needs a closer inspection.
What bathtub caulk is supposed to do
Caulk seals the joint where two different surfaces meet, such as a tub and tiled wall. It helps keep splash water from entering the joint. It is not a substitute for waterproofing behind the wall, a plumbing repair, or damaged building materials.
Health Canada recommends repairing or replacing open, cracked, or damaged caulking around showers and tubs, along with repairing plumbing leaks promptly. The same guidance recommends controlling bathroom moisture with ventilation and keeping surrounding surfaces dry. (Health Canada moisture and mould guidance)
Signs the caulk itself may be the main problem
A straightforward re-caulking job may be appropriate when:
- The bead is cracked, separated, shrunk, or peeling.
- Water is not appearing outside the tub or shower area.
- The surrounding tile, drywall, trim, and flooring feel solid and dry.
- The discolouration is limited to the caulk rather than spreading into adjacent materials.
- There is no musty odour, soft spot, staining below the bathroom, or recurring dampness.
Even in this situation, painting or applying new caulk over the old bead is usually a poor repair. The old material should be removed, the joint cleaned, and the surfaces allowed to dry completely before a compatible bathroom sealant is applied.
Signs you may be dealing with a hidden leak
New caulk will not solve a leak from a supply line, drain, shower valve, failed waterproofing detail, or damaged substrate. Arrange a closer inspection if you notice:
- A soft or swollen section of drywall, trim, subfloor, or flooring.
- Water marks on the ceiling or wall below the bathroom.
- Caulk that turns black again soon after cleaning or replacement.
- A persistent musty smell or dampness behind the tub edge.
- Water appearing only when the shower is running, the tub is draining, or a fixture is being used.
- Cracked grout, loose tile, bubbling paint, or flooring that is lifting near the tub.
- A leak that continues when the bathroom has not been used.
Stop using the affected fixture if water is reaching electrical components, spreading into the wall or floor, or causing active damage. Dry accessible surfaces, document what you see, and arrange the appropriate qualified trade or repair professional. A handyman can help with visible maintenance and repair work, but concealed plumbing, extensive mould, structural damage, or electrical concerns may require a specialist.
Why mould keeps returning around bathroom caulk
Recurring mould is not always a caulk-quality problem. Moisture may be staying on the joint because the exhaust fan is weak, not vented outdoors, or not used long enough. Health Canada advises using a bathroom exhaust fan while bathing and continuing to run it for at least 30 minutes afterward; it also recommends checking that the fan vents outside rather than into an attic. (Health Canada moisture and mould guidance)
Other contributors include a shower curtain that allows water to escape, a tub that flexes, poor drainage at a joint, a leaking fixture, or damp materials behind the finished surface. Wiping down the tub surround after use can reduce surface moisture, but it will not repair a leak or replace deteriorated sealant.
A practical inspection checklist
1. Look at the full bathroom, not just the black spot
Check the tub edge, corners, shower door or curtain area, plumbing trim, ceiling below, baseboards, and flooring. Compare the area before and after the shower has been used.
2. Identify when water appears
Does it happen during shower spray, while the tub is filling, when the drain empties, or even when nobody is using the bathroom? The timing can help indicate whether the concern is splash water, a drain connection, a supply line, or a fixture.
3. Test for softness carefully
Pressing gently on nearby trim or drywall may reveal swelling or softness. Do not cut into a wall or floor simply to investigate unless you understand the risks and have a plan for safe repair.
4. Check ventilation
Run the exhaust fan during bathing and afterward. Confirm that the grille is clean and that air is actually moving. If condensation remains heavy or mould appears in multiple places, the broader moisture problem should be addressed rather than repeatedly replacing caulk.
5. Decide whether the area is suitable for routine caulking
If the surfaces are sound, dry, and free of signs of movement or leakage, re-caulking may be a reasonable maintenance task. If the substrate is damaged or moisture is unexplained, investigate first.
When to hire help instead of attempting a patch
DIY caulking can be manageable when the joint is accessible and the surrounding materials are sound. Hiring help is sensible when you cannot safely remove the old seal, the joint is difficult to reach, the tub or shower enclosure moves, the bathroom is needed quickly, or the damage may extend behind the finished surface.
Wasaga Beach Handyman provides shower and tub caulking for homeowners and property managers in Wasaga Beach and nearby communities. The service page describes removal of old caulk, surface preparation, application, and cure-time instructions.
If the inspection identifies broader bathroom work, you can also review the company’s bathroom renovation service. For related household repair needs, see home repair services and property maintenance.
What to include when requesting an estimate
Send clear photos of the full tub or shower area, close-ups of the damaged joint, and any staining or swelling outside the bathroom. Explain when water appears and whether the problem is in a primary home, rental, or cottage. Mention whether the caulk has been replaced before and whether the exhaust fan vents outdoors.
For a quote from Wasaga Beach Handyman, use the contact page or call 705-795-4009. Describe the symptoms accurately so the right type of inspection or repair can be discussed before work begins.
The simple rule
Replace damaged caulk when the surrounding area is dry and sound. Investigate before re-caulking when moisture, softness, staining, movement, or recurring mould suggests that water is getting somewhere it should not. A neat new bead is useful maintenance—but it should not be used to hide an unresolved leak.