 Wasaga Beach Handyman Services
Wasaga Beach Handyman Services › Blog › Wasaga Beach Kitchen Refresh: Who Can Install Backsplash, Trim, Paint, and Update Cabinets?
← All articlesWasaga Beach Kitchen Refresh: Who Can Install Backsplash, Trim, Paint, and Update Cabinets?
Key takeaways
- A handyman-led scope is often suitable for a finish-focused kitchen refresh with painting, trim, cabinet updates, hardware, minor repairs, and straightforward backsplash work.
- Use a tile specialist for complex backsplash layouts or uncertain wall conditions, and use a renovation contractor when the kitchen layout, cabinets, plumbing, or electrical services change.
- A useful estimate separates planned finish work from potential corrective work such as damaged drywall behind removed tile.
- Cabinet painting is best for sound, functional cabinets; water damage, warping, and layout problems are signs that replacement may be the better solution.
- Electrical and plumbing changes should be separately scoped and completed by appropriate qualified trades before final finishes are installed.
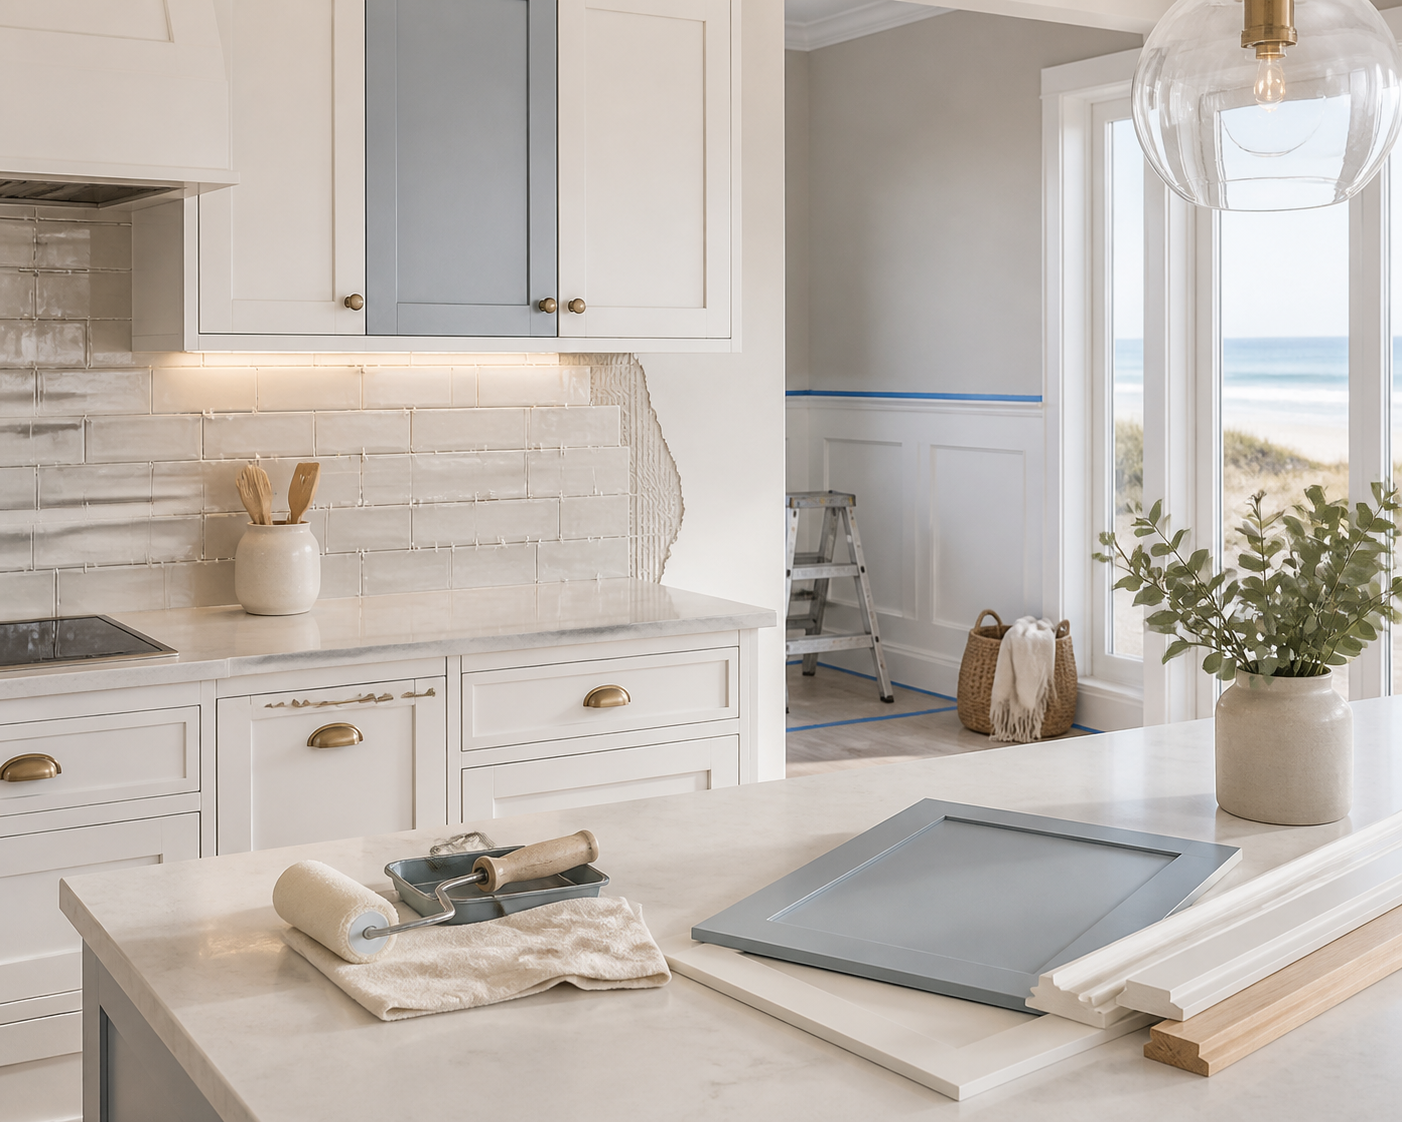
For a Wasaga Beach kitchen where the layout, plumbing, and electrical stay put, start with a qualified local handyman such as Wasaga Beach Handyman Services for one coordinated finish-work scope. Use a tile setter for a backsplash-led project, or a renovation contractor and licensed trades when cabinetry, services, demolition, or layout changes are involved.
Choose the right professional for the work—not just the most visible task
A kitchen refresh can look like a short list—backsplash, paint, trim, cabinet colour, and new handles—but each item affects the next. The best provider depends on whether the work remains cosmetic or starts changing the kitchen’s structure, services, or layout.
| Your project | Best starting point | Why |
|---|---|---|
| Paint walls, ceiling, trim, cabinet frames or doors; install handles; make minor drywall repairs | Handyman / finish-work provider | These tasks benefit from one coordinated preparation, painting, reassembly, and touch-up plan. |
| Install a new backsplash over a sound wall | Tile setter or experienced handyman with demonstrated tile work | Layout, cuts, grout joints, edge profiles, and outlet details determine the finished appearance. |
| Remove existing backsplash with uncertain wall condition | Tile setter or renovation contractor | Tile removal can expose damaged drywall, uneven walls, adhesive residue, or required substrate repair. |
| Replace cabinets or counters, move appliances, alter the kitchen layout | Renovation contractor | Multiple trades, scheduling, measurements, demolition, and possible permits need coordination. |
| Move outlets, add under-cabinet electrical, relocate lighting, or modify wiring | Licensed electrical contractor | Electrical work must follow Ontario safety requirements and should not be treated as a painting or tile extra. |
| Move a sink, dishwasher line, water supply, or drain | Qualified plumbing professional or renovation contractor coordinating one | Plumbing changes affect connections, shutoffs, drains, and cabinet fit. |
A handyman-led refresh is often a practical choice when cabinet boxes are staying in place, counters remain unchanged, and the work is mainly surface preparation and finishing. A renovation contractor becomes the better lead when the project requires trade sequencing: for example, electrical rough-in before drywall repair, counter installation before final backsplash measurements, or plumbing changes before base cabinets are closed in.
A practical Wasaga Beach kitchen-refresh scope
For a small-to-medium finish update, ask for one written scope that puts tasks in the correct order. This prevents a common problem: painting walls, then damaging them while removing old tile; or installing new pulls before cabinet doors are painted and cured.
Recommended work sequence
1. Document and protect the kitchen. Photograph existing cabinet wear, countertop chips, wall damage, and appliance condition. Cover counters, flooring, appliances, and paths to the exterior.
2. Remove or mask hardware and removable components. Label every hinge, door, drawer front, and pull. A simple numbering system—such as “U1” for upper cabinet one and “L3” for lower cabinet three—makes reinstallation much faster.
3. Complete demolition and repairs first. Remove old backsplash material, repair loose drywall, fill trim nail holes, correct minor dents, and address cabinet-door damage before finishing begins.
4. Prepare cabinet and paint surfaces. Cleaning is essential around cooking zones because grease can interfere with primer and paint adhesion. Preparation may include degreasing, sanding or deglossing, patching, caulking, priming, and dust removal.
5. Paint ceilings, walls, trim, and cabinet components. Confirm which surfaces are included: cabinet boxes, end panels, doors, drawer fronts, toe kicks, crown moulding, and island panels are often priced differently.
6. Install backsplash tile. Final tile layout should account for outlet locations, the underside of upper cabinets, countertop variation, focal points behind the range, and visible end edges.
7. Grout, caulk, reinstall, and inspect. Grout belongs in tile joints; flexible sealant is generally used at changes of plane, such as where backsplash tile meets the countertop or a side wall. Reinstall doors, adjust hinges, fit hardware, and complete touch-ups after all work is dry.
The Tile Council of North America publishes the industry handbook used by many tile professionals to guide material and installation-method decisions. Its importance is not that every small backsplash needs an elaborate system, but that tile is only as reliable as the surface and installation method behind it. See the TCNA Handbook information when comparing experienced tile installers.
Backsplash planning: details that change the scope
A backsplash estimate should not simply say “install tile.” Ask for the details that determine labour, material quantity, and appearance:
- Existing tile, laminate, or wall-panel removal
- Wall inspection and repair after removal
- Tile type, dimensions, and pattern
- Layout starting point and focal point
- Grout-joint width and grout colour
- Edge trim, bullnose, or finished-tile edge treatment
- Cuts around outlets, switches, window trim, range hoods, and cabinets
- Grout, caulking, sealing requirements where applicable, and cleanup
- Responsibility for removing and reinstalling outlet covers
Example: why two 15-square-foot backsplashes can be very different jobs
Consider a simple run that is 10 feet wide and 18 inches high:
- 10 ft × 1.5 ft = 15 square feet of visible backsplash.
- A straightforward subway-tile layout with two outlets and one exposed end is relatively predictable.
- The same 15 square feet in a herringbone pattern, with four outlets, a window return, and two exposed ends requires substantially more dry layout, cuts, waste management, and edge finishing.
For material ordering, measure each wall section separately, subtract only large uninterrupted openings, and review the tile manufacturer’s recommended overage. Keep one unopened box from the same dye lot when possible for future repairs. Do not assume a box count based on square footage alone; tile size, pattern, and cut complexity matter.
If the old backsplash comes off with drywall paper or leaves uneven adhesive behind, stop and price corrective work before new tile goes up. A visually flat wall is not always a suitable bonding surface.
Cabinet updates: paint, repair, hardware, or replace?
Painting cabinets can make sense when the cabinet boxes are solid, doors are flat, hinges can still be adjusted, and the layout works for your household. It is usually a poor shortcut when particleboard boxes are swollen from leaks, door panels are warped, hinges are pulling out repeatedly, or storage and workflow are fundamentally wrong.
A cabinet-painting estimate should state exactly what is being finished:
- Doors and drawer fronts
- Cabinet frames and face frames
- Exposed end panels and island panels
- Interior cabinet surfaces, if requested
- Toe kicks, valances, crown moulding, and filler strips
- Existing hinges and pulls, or new hardware installation
The cabinet update checklist most homeowners miss
Before selecting paint or pulls, identify the cabinet material. Solid wood, wood veneer, thermofoil, laminate, MDF, and previously painted surfaces require different preparation decisions. A provider should inspect for peeling film, loose veneer, heat damage near the range, water damage beneath the sink, and failed old coatings.
For new hardware, measure before drilling. Record:
- Number of doors and drawers
- Existing hole-to-hole spacing for pulls
- Whether knobs are changing to pulls
- Door stile width and drawer-front height
- Whether all doors use the same orientation
For example, replacing a 3-inch centre-to-centre pull with a 5-inch pull does not use the same holes. That means filling, sanding, refinishing, and carefully redrilling may be needed. A hardware jig can improve consistency, but it does not correct a poor initial layout.
Paint manufacturers also distinguish between wall paint and products intended for cabinet surfaces. Review the coating system’s preparation, primer, recoat, and cure instructions rather than choosing by colour alone. Benjamin Moore’s cabinet-painting guidance is a useful reference for understanding why cleaning, sanding, priming, and cure time belong in the scope.
Trim and painting: define the finish standard upfront
Trim work can include baseboards, window casing, door casing, crown moulding, cabinet crown, light-rail moulding, fillers, and toe-kick repairs. Specify whether the goal is a repair, a replacement of matching profile, or a new decorative detail. Matching older trim exactly can be harder than installing a new, readily available profile.
For painting, get these answers in writing:
1. Which rooms and surfaces are included?
2. Is patching limited to minor nail holes and dents, or does it include drywall repair after tile removal?
3. Will gaps between trim and wall receive paintable caulk?
4. Are primer, finish coats, and touch-ups included?
5. Who supplies paint, and what product, sheen, and colour will be used?
6. How will dust, cabinet doors, flooring, counters, and appliances be protected?
Kitchen work creates dust during sanding, cutting, and demolition. If tile is cut indoors, silica-containing dust is a serious health concern; wet-cutting and appropriate controls are important. The Canadian Centre for Occupational Health and Safety explains the hazards and control considerations in its silica information resource.
When electrical, plumbing, or permits enter the conversation
A backsplash project often involves removing outlet covers and reinstalling them after tile is complete. That is not the same as relocating an outlet, extending wiring, adding under-cabinet lighting, or changing a circuit. Keep electrical work as a separate, visible line item with a licensed electrical contractor.
Ontario’s Electrical Safety Authority explains who may perform electrical work and the notification requirements that can apply. Review the ESA guidance for electrical work before authorizing outlet relocation or new kitchen lighting.
Similarly, changing plumbing, removing walls, altering structural elements, or making a substantial renovation may require approvals. Building-permit requirements vary by the work involved, and Ontario’s Citizen’s Guide to Building Permits is a good starting point. Confirm local requirements with the applicable municipal building department before work begins.
What to send when requesting an estimate
The fastest way to receive a comparable estimate is to give every provider the same project brief. Include:
- Wide kitchen photos plus close-ups of damage, outlets, trim, and cabinet surfaces
- Backsplash width and height for each wall section
- Existing backsplash type and whether removal is required
- Cabinet-door, drawer-front, and hardware counts
- Cabinet material if known, plus photos of peeling, swelling, or damaged areas
- Paint colours, sheen preferences, tile, grout, and edge-profile selections
- Desired trim repairs or replacements
- Appliance, electrical, plumbing, or layout changes
- Access limits, parking details, pets, and preferred completion window
Ask the provider to separate included work, allowances, and possible corrective work. For example, “remove existing tile” is not the same as “repair water-damaged drywall discovered behind existing tile.” Clear categories make it easier to approve legitimate changes without turning the project into an open-ended estimate.
Before you book: a final hiring checklist
Choose the provider whose written scope best matches the whole project, not simply the lowest line item. Confirm current Wasaga Beach service coverage, availability, insurance documentation, materials responsibility, cleanup, payment stages, warranty terms, and who coordinates each trade.
For a finish-focused kitchen update, Wasaga Beach Handyman Services can be the appropriate first call. For tile-heavy work, request examples of comparable backsplash installations. For changed services or a redesigned kitchen, use a renovation contractor able to coordinate licensed electrical and plumbing professionals.
Frequently Asked Questions
Can one provider handle backsplash, trim, painting, and cabinet hardware?
Yes, a qualified handyman or finish-work provider can often coordinate these tasks when the kitchen layout and major services remain unchanged. Confirm that the provider has relevant backsplash experience and that the estimate clearly separates tile, painting, repairs, and hardware installation.
When should I hire a tile specialist instead of a handyman?
Hire a tile specialist when the backsplash is the central feature, the pattern is complex, the wall needs significant correction, there are many cuts and exposed edges, or you want documented experience with comparable tile and grout work.
Is cabinet painting worth it?
Cabinet painting is often worthwhile when boxes and doors are structurally sound, hinges work properly, and the layout meets your needs. Replacement is usually more appropriate for water-swollen boxes, warped doors, failed thermofoil, major storage problems, or a planned layout change.
Do I need an electrician to move an outlet for backsplash tile?
Yes. Removing a cover for finishing is different from relocating, extending, adding, or modifying electrical wiring. Electrical changes should be planned and completed through the proper Ontario electrical process before final tile installation.
What should a backsplash quote include?
It should identify removal, wall condition, substrate repairs, tile layout, cuts, edge treatment, grout, caulking, outlet-cover handling, materials, waste removal, cleanup, and exclusions. Ask how hidden wall damage will be documented and approved if discovered.
Sources
- Tile Council of North America: Handbook for Ceramic, Glass, and Stone Tile Installation
- Ontario Electrical Safety Authority: Doing Electrical Work
- Government of Ontario: Citizen’s Guide to Building Permits
- Canadian Centre for Occupational Health and Safety: Silica
- Benjamin Moore: How to Paint Kitchen Cabinets
*Confirm current service area, availability, insurance, scope, pricing, warranty, permits, and trade requirements before authorizing any work.*
References
- https://wasagabeachhandyman.ca
- https://www.homestars.com/handyman-services/handyman-pros/wasaga-beach
- https://mightonconstruction.com/kitchen-renovations
- https://www.drbuilders.ca/kitchen-renovations-simcoe-county
- https://beach5bath.com
- https://www.houzz.com/professionals/general-contractors/wasaga-beach-contractor-and-handyman-services-pfvwus-pf~567146435
FAQ
Can one provider handle backsplash, trim, painting, and cabinet hardware?
Yes. A qualified handyman or finish-work provider can often coordinate these tasks when the kitchen layout and major services remain unchanged. Confirm backsplash experience and get tile, painting, repairs, and hardware listed separately in writing.
When should I hire a tile specialist instead of a handyman?
Choose a tile specialist when the backsplash is the primary project, the tile pattern is complex, significant wall correction is needed, or the job includes many cuts, outlets, corners, and exposed tile edges.
Is cabinet painting worth it?
Cabinet painting can be a strong update when cabinet boxes and doors are sound, hinges adjust properly, and the kitchen layout works. Replacement is usually better for water-swollen boxes, warped doors, failed surfaces, or major storage and layout problems.
Do I need an electrician to move an outlet for backsplash tile?
Yes. Relocating, extending, adding, or modifying wiring is electrical work and should be handled through the appropriate Ontario electrical process. Removing outlet covers for tile installation is not the same as moving an outlet.
What should a backsplash quote include?
A complete quote should identify removal, wall or substrate repair, tile layout, cuts, edge treatment, grout, caulking, outlet-cover handling, materials, cleanup, and the process for approving hidden damage discovered after removal.